Renovation dust isn’t just messy — it’s microscopic, abrasive, and goes everywhere a normal cloth can’t reach. Here is the room-by-room checklist that turns a fresh build site into a home you can actually live in, and why we treat post-renovation cleans differently from any other deep clean we do.
Why post-renovation cleaning is its own job — not a fancy weekly clean
A regular deep clean assumes a lived-in home. Post-renovation cleaning starts from the assumption that every surface, vent, and crevice has been hit by an aerosol of plaster dust, MDF particles, paint mist, and silicone residue over weeks or months. That mix is finer, drier, and more abrasive than household dust. It works its way into carpet fibre, HVAC ducting, mattress seams, and the rubber gaskets on appliances. It is also unfriendly to anyone with asthma — Australian construction-industry data puts respirable crystalline silica from renovation work at 50–100× the concentration of normal household particulate.
The practical implication is that a one-pass surface wipe will look fine for about 48 hours, then fail. Dust trapped inside vents, light fittings, soft furnishings, and the back of cabinetry will re-circulate. You will keep finding it on freshly cleaned benches for weeks. Doing it properly the first time saves you doing it three times.
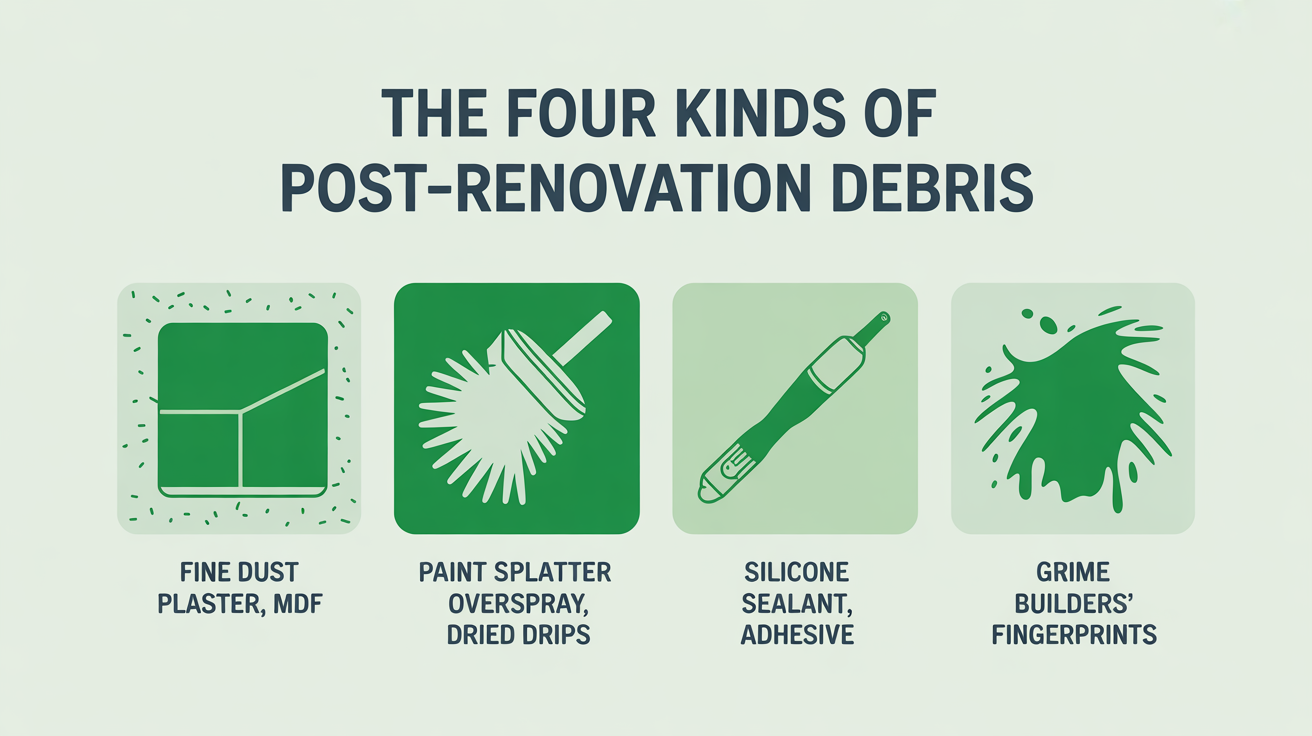
The four kinds of debris a post-renovation clean has to remove
Knowing what you are clearing changes how you clear it. Each of these needs a different tool.
- Fine particulate — plaster, MDF, gyprock, sand. Smaller than 10 microns. Settles invisibly on every horizontal surface. Needs a HEPA-rated vacuum, not a broom (a broom re-aerosolises it).
- Paint splatter and overspray. Dried and bonded. Plastic scraper + isopropyl alcohol or a dedicated paint-residue remover. Never use abrasive pads on visible surfaces.
- Silicone, adhesive, and sealant smears. Often along skirting, tile edges, glass shower screens. Citrus-based dissolver or razor scraper at 30° on glass only.
- Builders’ fingerprints and grime on hardware. Door handles, taps, switches. Microfibre + neutral degreaser. Builders’ fingerprints contain joint compound and hand sweat — they bond more aggressively than household ones.
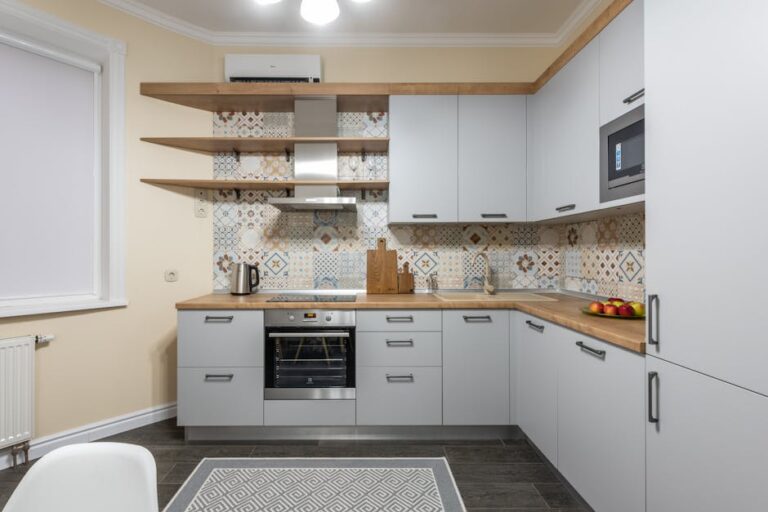
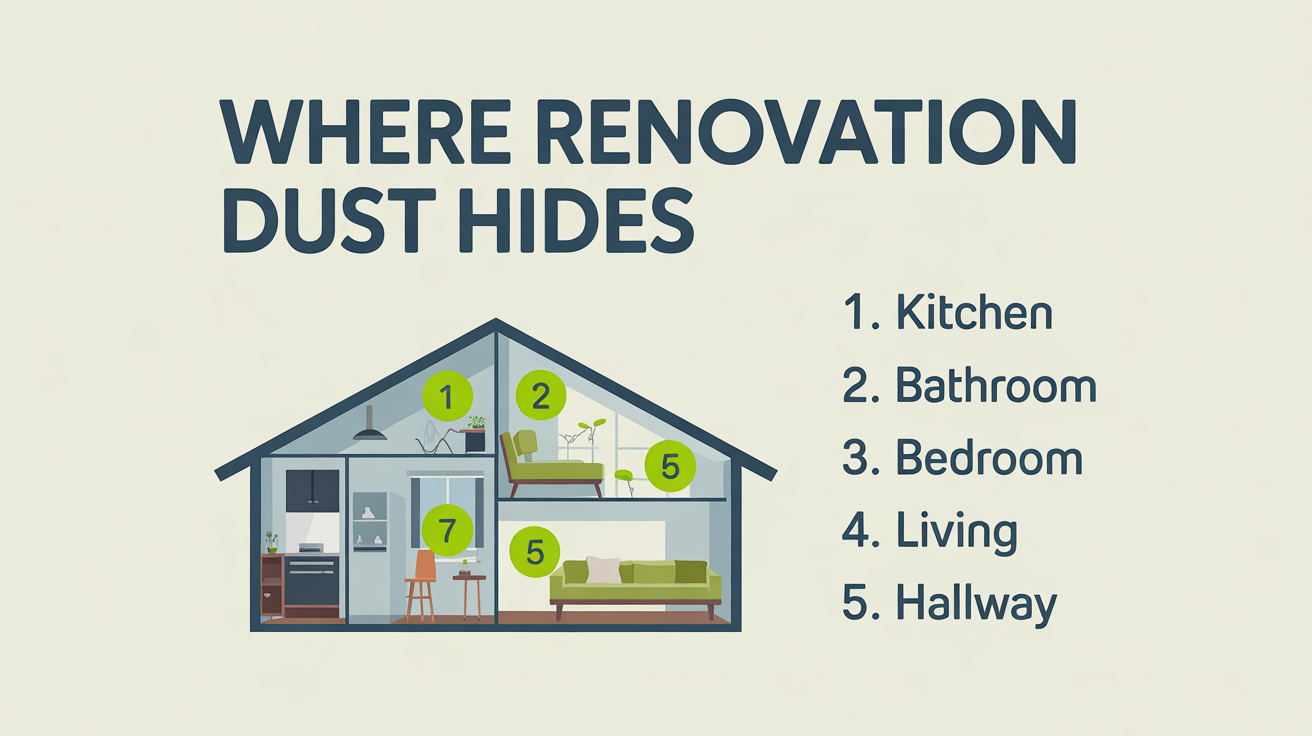
Room-by-room — kitchen
The kitchen takes the most time on a post-reno clean because every cabinet, every drawer interior, every appliance gap, and every length of trim has to be addressed individually.
- Vacuum inside every drawer and cabinet — including the top of overhead cabinets where dust settles invisibly
- Wipe interiors with a damp microfibre + neutral cleaner. Two passes — one to lift, one to finish
- Pull out the range hood filters. Soak in degreaser. Rinse, dry, reinstall
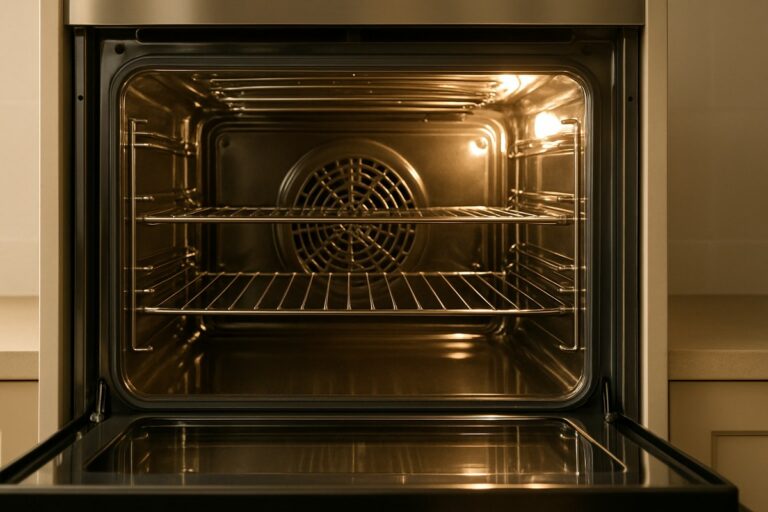
- Clean inside the oven (often coated in residue from the install)
- Wipe the back of the splashback tiles + grout lines (silicone smears settle here)
- Polish the tapware — builders’ fingerprints etch chrome over weeks if left
- Vacuum the kickboard channel and skirting line behind cabinets
- Check inside the dishwasher cavity + behind the fridge
Room-by-room — bathrooms and wet rooms
Bathrooms collect three things during a renovation: tile-cutting slurry, silicone offcuts, and the fine grout dust that comes from sponging fresh grout. All three need different handling.
- Vacuum the entire room before any wet cleaning — wet grout dust turns into cement on contact with water
- Scrape excess silicone with a plastic edge from glass and tile
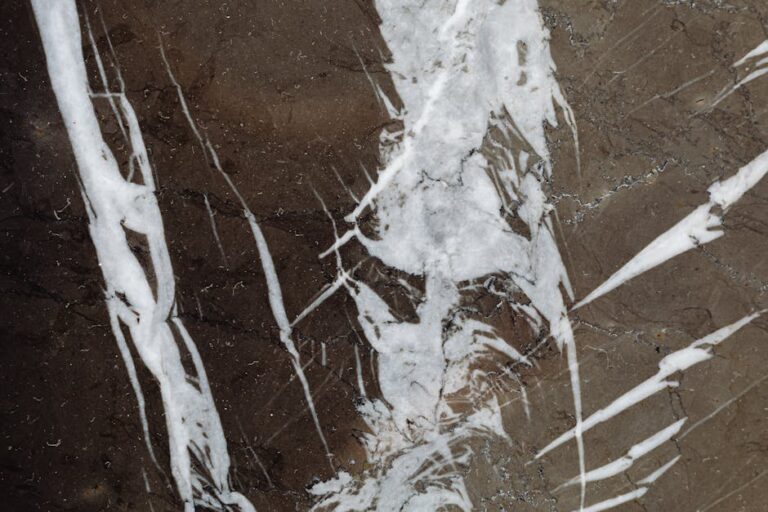
- Clean shower screens with vinegar + soft cloth (acid-safe for fresh tiles, NOT marble or limestone)
- Wipe down vanity cabinetry including under the basin
- Run hot water down all drains to clear plaster slurry from the trap
- Clean exhaust fan housing — fresh paint mist gets sucked up here
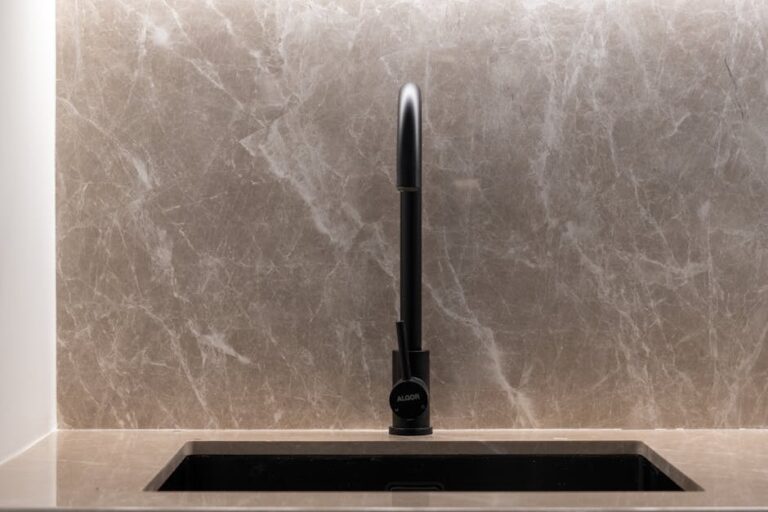
- Polish tapware + showerhead — descale if you can see white residue
Renovated and ready for a real reset?
Free walkthrough. Fixed price. Same owner-operator every visit.
Room-by-room — bedrooms and living spaces
If your renovation involved sanding plaster, painting, or laying new flooring anywhere in the home, the bedrooms and living areas need a full reset — even rooms that were not directly worked on. Fine dust travels through doorways and settles wherever air movement is slowest.
- Strip beds and wash all linen at 60°C if fabric allows
- Vacuum mattresses, pillows, and the underside of every bed
- Vacuum upholstery on sofas and chairs in two passes — once to dislodge, once to lift
- Wipe every horizontal surface twice — first pass lifts the heavy layer, second pass catches the resettlement
- Vacuum the inside of wardrobes, especially the top shelf and back corners
- Clean ceiling fan blades top and bottom (dust falls when they spin)
- Wipe down skirting and architraves — they collect a chalky outline of dust
- Vacuum window tracks + dust window sills
Indicative ranges for a 3-bedroom Wangaratta home after a kitchen + living renovation. We provide a fixed quote after a free walkthrough.
The forgotten list — what most one-day cleans miss
This is the list we work through after the rooms are done. Skipping it is why a “post-reno clean” sometimes still leaves the home feeling slightly off two weeks later.
- HVAC return-air vents and ducted-system grilles. Pull them out, vacuum behind, wipe clean. Consider professional duct cleaning if the renovation was extensive
- Air-conditioner filters. Wash or replace. They will be heavily clogged
- Light fittings + downlights. Wipe diffusers from inside. Dust on warm light fittings settles into a baked-on residue if left
- Door tops + door frames. Easy to miss above eye-line. Run a damp cloth along every door
- Power outlets + switch plates. Wipe gently — dust builds up around screw heads
- Curtain rods + window pelmets. A heavy layer settles here
- The space between fridge top and ceiling. Always overlooked
- Inside the laundry tub + behind washing machine. Renovation tradies often use the laundry as a wash-up point — there will be residue
Floors — the last step, and the trickiest
Floors come last because every dust source above floor level needs to be cleaned first — otherwise you mop up resettlement. The right approach also depends on what kind of floor you have just installed.
- New timber floors: Vacuum first (with a soft floor head, not brush bar). Then a barely-damp microfibre mop with timber-safe cleaner. Avoid water for 48 hours after polish has cured
- New tile floors: Vacuum then mop. Pay attention to grout lines — slurry residue dries chalky. May need a second pass with a grout-safe brush
- New carpet: Vacuum in multiple directions to lift trapped fibre dust. Spot-treat any drink/paint marks immediately
- New vinyl plank: Vacuum then damp mop with neutral cleaner. Avoid steam mops on click-lock vinyl for the first 7 days
When to DIY, and when to call us
A small bathroom refurbish or a single-room paint? You can usually handle it yourself in a weekend with the right gear. A whole kitchen, an extension, two or more rooms together, or any renovation that touched flooring or HVAC? The maths almost always favours getting it done in one pass by a professional.
We bring HEPA-rated vacuums, proper degreasers for fresh paint and silicone, and the kind of methodical room order that stops dust from migrating from cleaned spaces back into spaces you have not done yet. For most 3-4 bedroom Wangaratta homes after a full kitchen + living renovation, we are on site for a full day.
Talk to us about your renovation — request a free quote or call 0493 295 032. We service Wangaratta, Beechworth, Benalla, Bright, Myrtleford, and 90+ towns across Northeast Victoria.
- ✓More than one room was renovated (not just a bathroom refresh)
- ✓Flooring was changed anywhere in the home
- ✓Anyone in the house has asthma, allergies, or respiratory sensitivity
- ✓You have a baby, young child, or elderly resident moving back in
- ✓There is visible white film on dark surfaces a week after the work finished
- ✓The renovation involved sanding plaster, MDF, or timber
- ✓You are putting the home back on the market and need photos within a week
Frequently Asked Questions
How soon after a renovation can you come in?+
Can I just do it myself with my normal cleaner?+
How long does a post-renovation clean take?+
Will the dust come back?+
Do you use harsh chemicals on new finishes?+
How much does a post-renovation clean cost in Wangaratta?+
Will you clean inside the new appliances?+
Do you handle paint splatter on tiles or windows?+
Sources & further reading
- Construction dust and silica — workplace guidance WorkSafe Victoria
- Indoor air quality at home — guidance Australian Government Department of Health
- Cleaning the home — Better Health Channel Victorian Department of Health
- Asthma and home air quality Asthma Australia
- Renovation health and safety — homeowner guide Department of Health Australia
- Indoor air quality fact sheet Healthdirect Australia
Ready to Hand This Off?
Free quote. Fixed price. HEPA-vacuumed, two-pass top-to-bottom. Wangaratta + 90 towns across Northeast Victoria.